Your Workspace
Administrators make data available to you in the form of Publications. You can then organise these Publications in Workspaces. These store the state of the HxGN Smart Sites Client, allowing you to return to it easily.
This next section discusses how to manage your Workspaces.
If you start the application without a workspaceId in the URI, the Workspace Catalogue allows you to load a Workspace. Cancel to create a new Workspace, instead.
Creating a Workspace
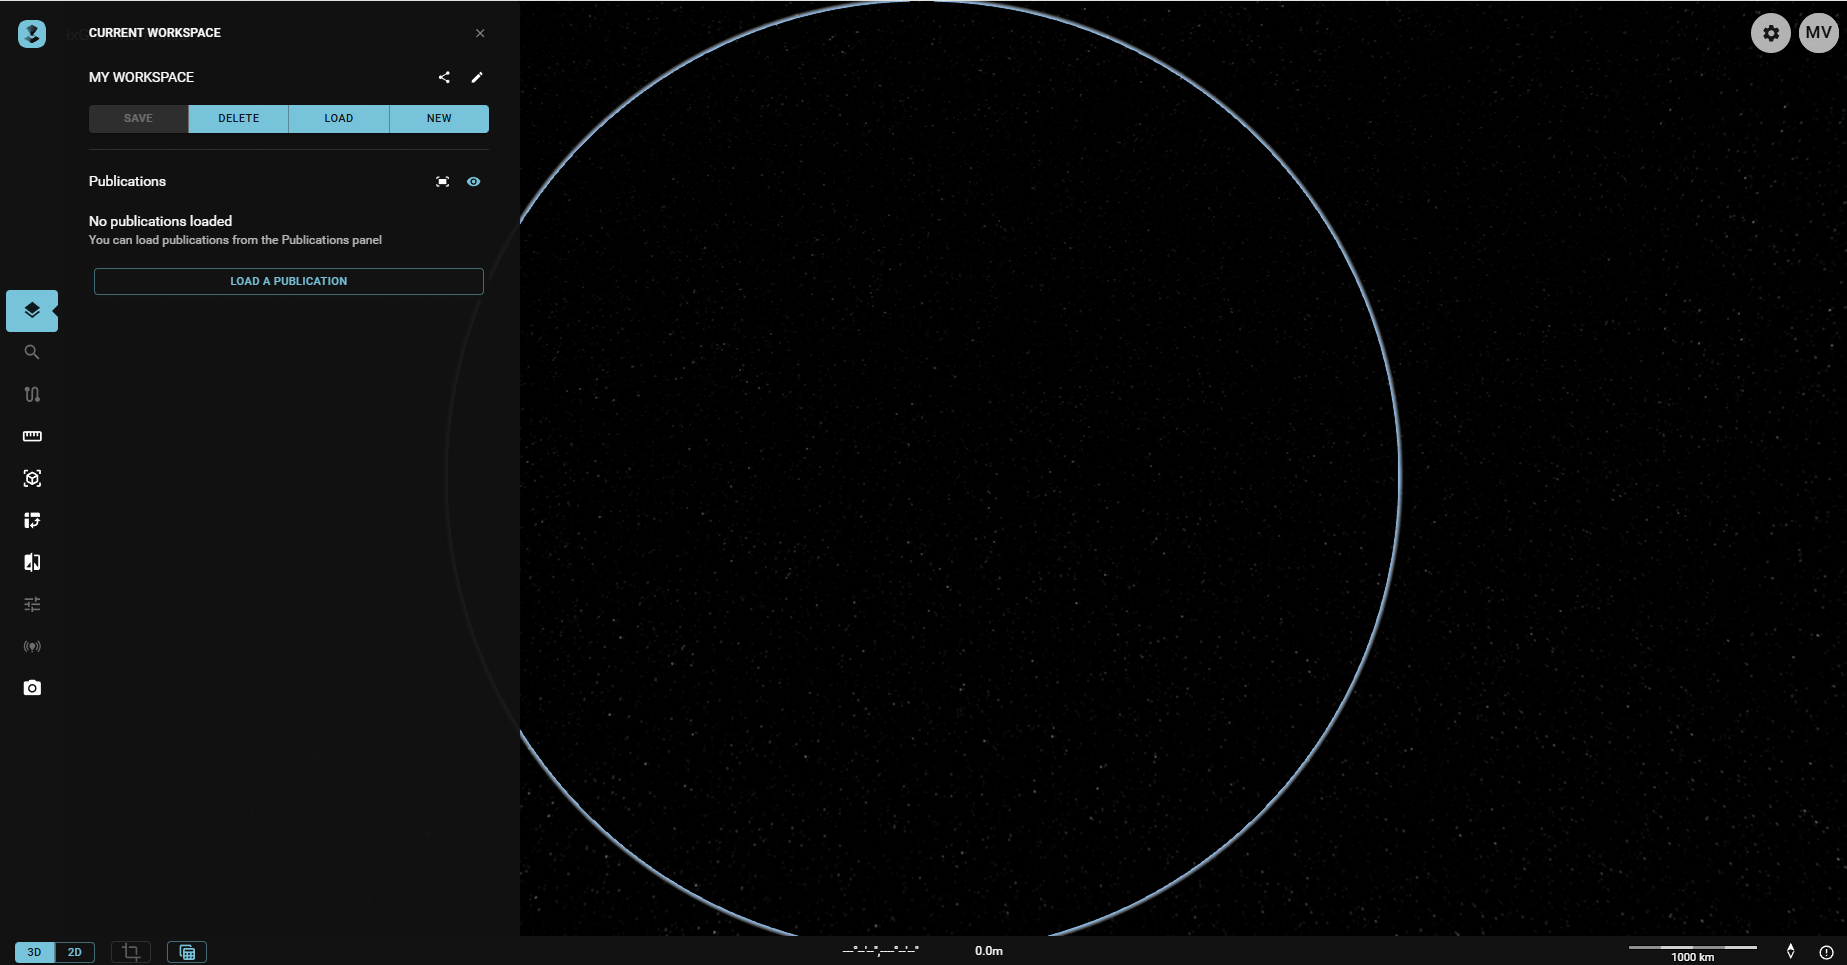
In the Toolbar, click Your Workspace.
Select New to create a new Workspace and provide the details.
Workspace Details
You must provide a Title. Optionally, you may add a Description and Tags.
If you later want to search for and load this Workspace, you can search on the former and latter.
Click Done.
Editing Workspace details
You can edit an existing Workspace by using the pencil icon next to the title. This opens the same menu as when creating a new Workspace, similarly allowing you to edit Title, Description and Tags.
Loading a Workspace
Alternatively, you can load and manage an existing Workspace; use the Load button on the Toolbar.
The Workspace Catalogue appears and displays the accessible Workspaces. A user can access Workspaces they've created themselves, or attached to user-groups they belong to, see Sharing a Workspace. Admin users can access all Workspaces.
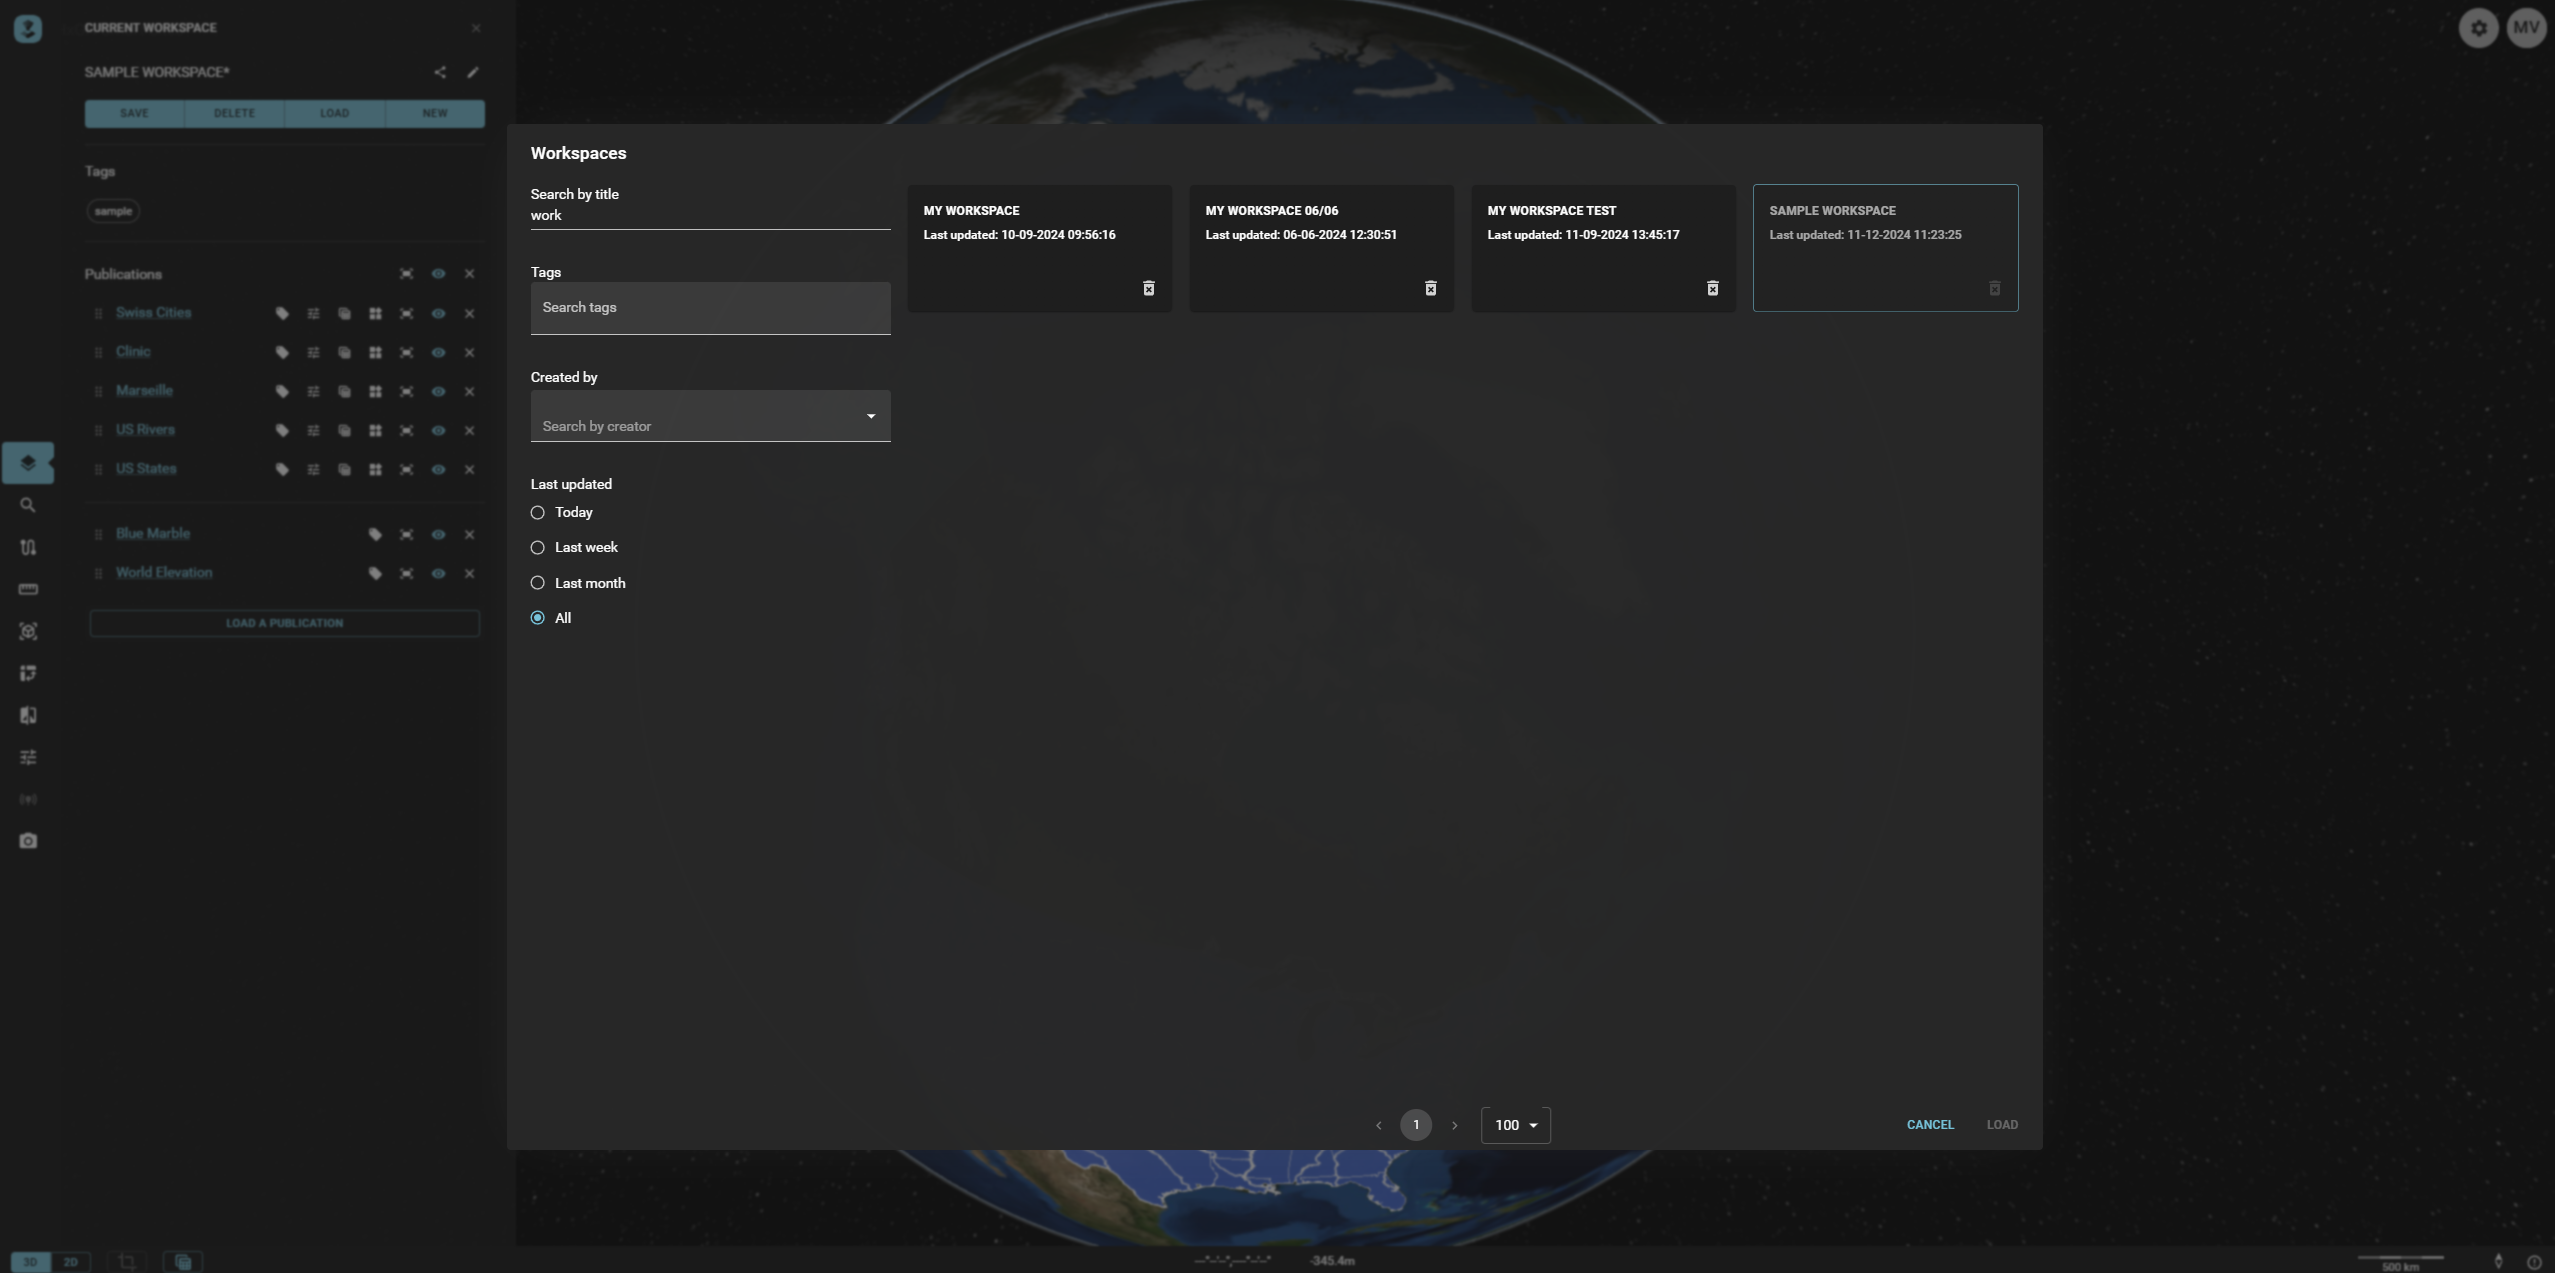
You can filter on Title, Tags, Creator and Last updated.
Select the required Workspace, then Load or Cancel.
Saving or Deleting a Workspace
When a Workspace contains unsaved changes, this is indicated as such by a * next to the Title.
Use the Save button to save changes to the current Workspace.
You can also use the Delete button to delete the current Workspace.
The application asks for confirmation: choose OK or Cancel.
Saving the Camera Position
You can use the save camera icon
 next to the Workspace title to store the
current camera position and map reference.
The logs will show a pop-up with camera position saved.
next to the Workspace title to store the
current camera position and map reference.
The logs will show a pop-up with camera position saved.
Save the Workspace. This will replace any previously saved camera position and map reference of that workspace. When you next load the Workspace, the reference will be as you have set and the camera will zoom to the saved location.
Sharing a Workspace
You can share the Workspace using the typical share icon
 next to the Workspace title.
The Workspace Sharing panel appears.
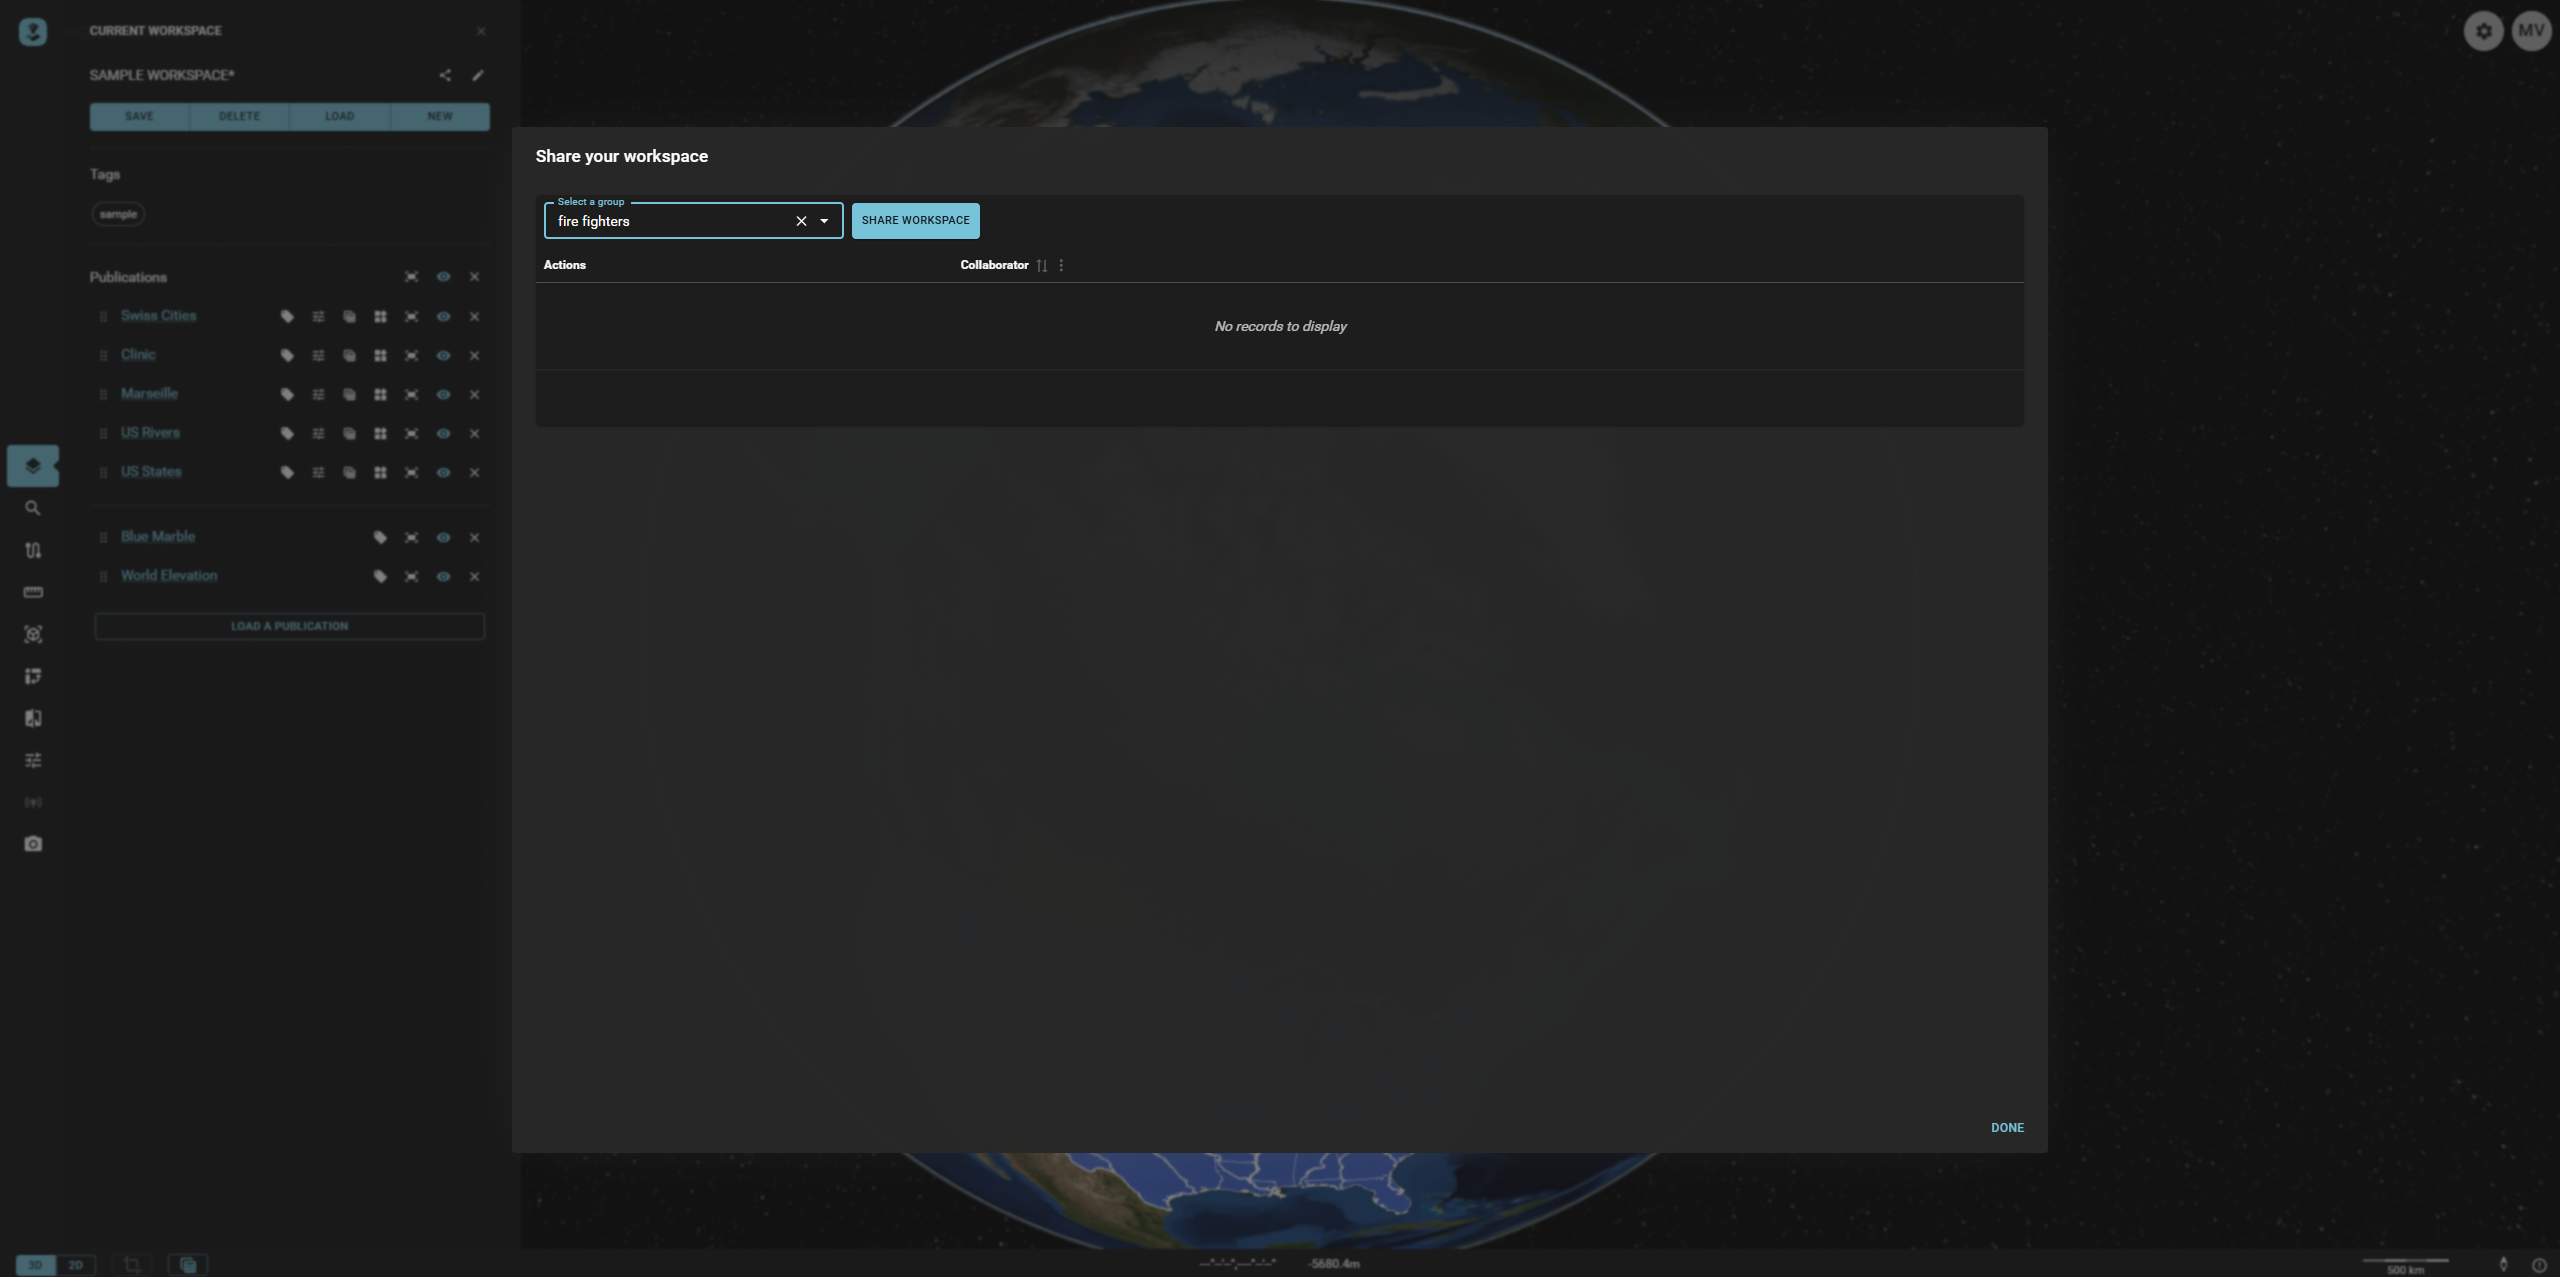
You can select a group of users you want to share the Workspace with, then press Done.
Sharing a Workspace with a group of users does not guarantee the ability to access the Publications. Access to Publications is managed by user roles.